#container{ background-color:#fcfdfd;
width:100%;
max-width:870px
margin:0 auto;
padding-top:20px;
font-size:1em;}
#text {
padding:10px;
font-family:"微軟正黑體", Arial, "Century Gothic";
line-height:220%;
color:#64666d;
text-align:left;
word-spacing:1px;max-width:870px;
}
.text ul {
list-style: none;
}
.text ul li::before {
content: "\2022"; /* Add content: \2022 is the CSS Code/unicode for a bullet */
color: #f43337; /* Change the color */
font-weight:bolder; /* If you want it to be bold */
display: inline-block; /* Needed to add space between the bullet and the text */
width: 1em; /* Also needed for space (tweak if needed) */
margin-left: -1em; /* Also needed for space (tweak if needed) */
}
.text li{color:#353535; text-shadow:0px 1px 1px #D9D9D9;text-align:left; font-size:1em; line-height:220%;font-family:"微軟正黑體", Arial, "Century Gothic";}
#sticker1{padding:10px;
margin:left;
margin-top:60px;
margin-bottom:0px;
display:table;
background-color:#37cbdf;color:#2a2a2a;
text-shadow:0px 1px 1px #1da0b2;
text-align:left; font-size:1.3em;
line-height:150%;
font-family:"微軟正黑體", Arial, "Century Gothic";max-width:870px;
}
#sticker2{padding:10px;
margin:left;
margin-top:60px;
margin-bottom:0px;
display:table;
background-color:#37dfb2;color:#222222;text-shadow:0px 1px 1px #0b906c;text-align:left; font-size:1.3em; line-height:150%;font-family:"微軟正黑體", Arial, "Century Gothic";max-width:870px;
}
#head1{ padding: 10px;
color: #353535;
text-shadow: 1px 2px 3px #e4e4e4;
text-align: left;
font-size: 1.5em;
line-height: 220%;
font-family: "微軟正黑體", Arial, "Century Gothic";max-width:870px;}
#head2{ padding: 10px;
color: #ffffff;
background-color: #031c48;
text-shadow: 1px 2px 3px #000000;
text-align: left;
font-size: 1.2em;
line-height: 220%;
font-family: "微軟正黑體", Arial, "Century Gothic";max-width:870px;
}
#topimg { margin:left auto;
width:100%;
max-width:870px;
margin-bottom:50px;}
.topimg box {
overflow:hidden;
margin: 20px;
}
.topimg box:after {
padding-top: 56.25%;
content:"";
display: block;
}
.topimg img {
top:0;
bottom:0;
right:0;
left:0;
max-width:100%;
margin:auto;
}
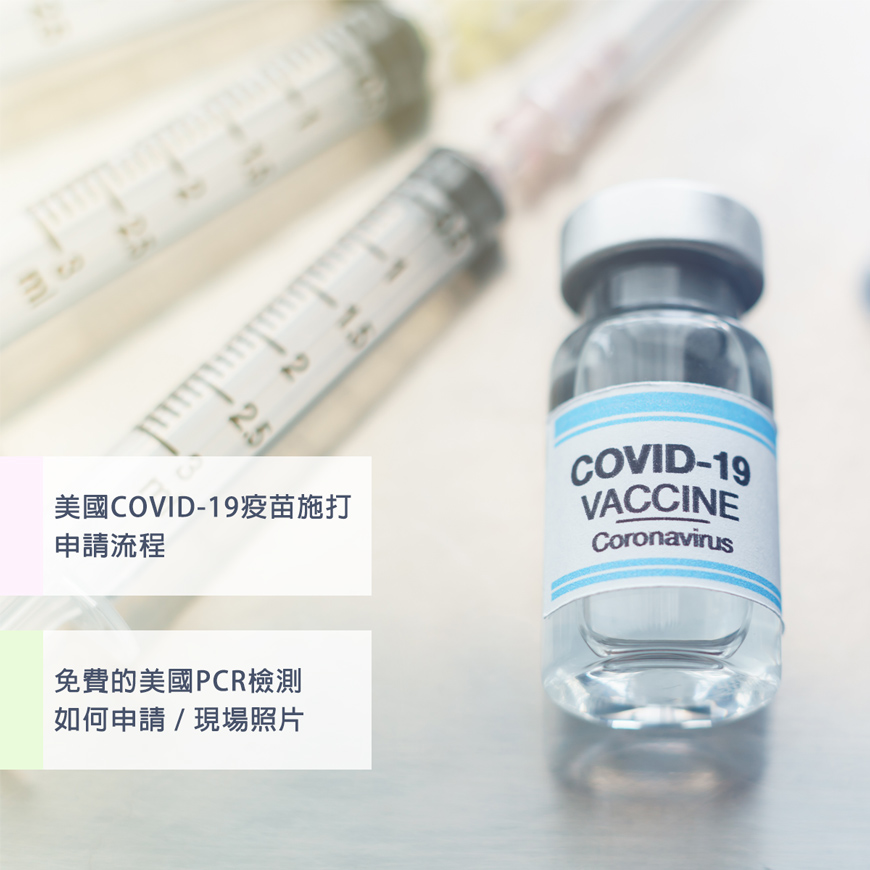
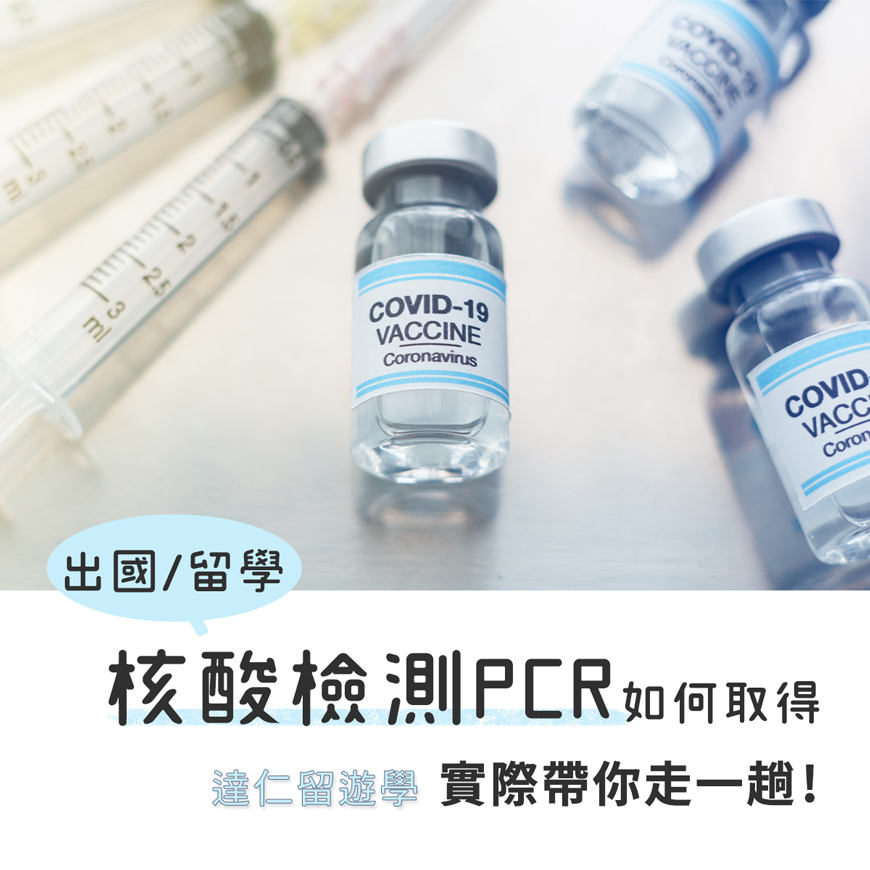
出國/留學,核酸檢測PCR報告如何取得,實際帶你走一趟~
COVID-19新冠肺炎正嚴重,大家都知道出國前要取得PCR核酸檢測證明,才能順利出入境。而自美國疫苗普及後,達仁的留學生們也陸續返回國外學校上課,有好多家長都在詢問PCR核酸檢測報告該怎麼弄。
剛好達仁顧問Katy應美國的學校邀請出訪洽公,為大家詳細記錄下這段"PCR核酸檢驗"流程。
我們選擇的醫院是衛服部台北醫院,[事前準備甚麼文件?] [地點在哪?] [要怎麼走好避開人群?] [流程順序怎麼跑?] [PCR核酸檢測報告怎麼領?]這些家長常問的問題,我們拍了方便理解的現場照片,現在,就跟著熟門熟路的Katy走吧!
PCR核酸檢測最佳時間點
Katy打算在後天出國,需要
72小時內的核酸檢測報告才能出入境,因此今天出門是
最保險的。
出門前準備!
原本想說做個PCR核酸檢測而已,帶健保卡出門應該就可以了吧?查了資料才發現.......太天真啦!不能只帶健保卡!!
因為政府有規範可申請PCR核酸檢測的適用對象,所以需要檢附相關文件才能做檢測。
Katy今天是以出國洽公 (出國留學亦同)的身分申請PCR核酸檢測,要準備的東西有:1. ☑ 健保卡正本2. ☑ 護照影本x13. ☑ 身分證影本x14. ☑ 機票影本x15. ☑ (點檔名可下載)台北醫院初診基本資料表.pdf x1(印出填妥,初診必填,若在台北醫院已有病例就免填)6. ☑ (點檔名可下載)台北醫院自費篩檢申請表.PDF (印出填妥)備註1:若上面兩個檔案無法下載,請上衛服部台北醫院官網下載(下載地點按我)備註2:家裡沒有印表機,要去便利商店列印的,可先把檔案傳到雲端:7-ELEVEN ibon雲端列印網 或 全家便利商店FamiPort雲端列印,上傳完畢後,到離你家最近的便利商店,請店員教你『如何把雲端列印的檔案印出來』備註3:現場還需要填文件,建議自備原子筆、酒精。備註4:衛服部台北醫院的COVID-19自費快篩簡介在此點我下載到院後停車位置
從醫院正門口右側、新莊思源路的停車場入口進入
紅色圈起來的地方,就是建議停車位置,而紅色箭頭就是下車後,人員的行進方向。
很重要喔~~~這樣走可以避開急診室,避免於高風險區群聚!